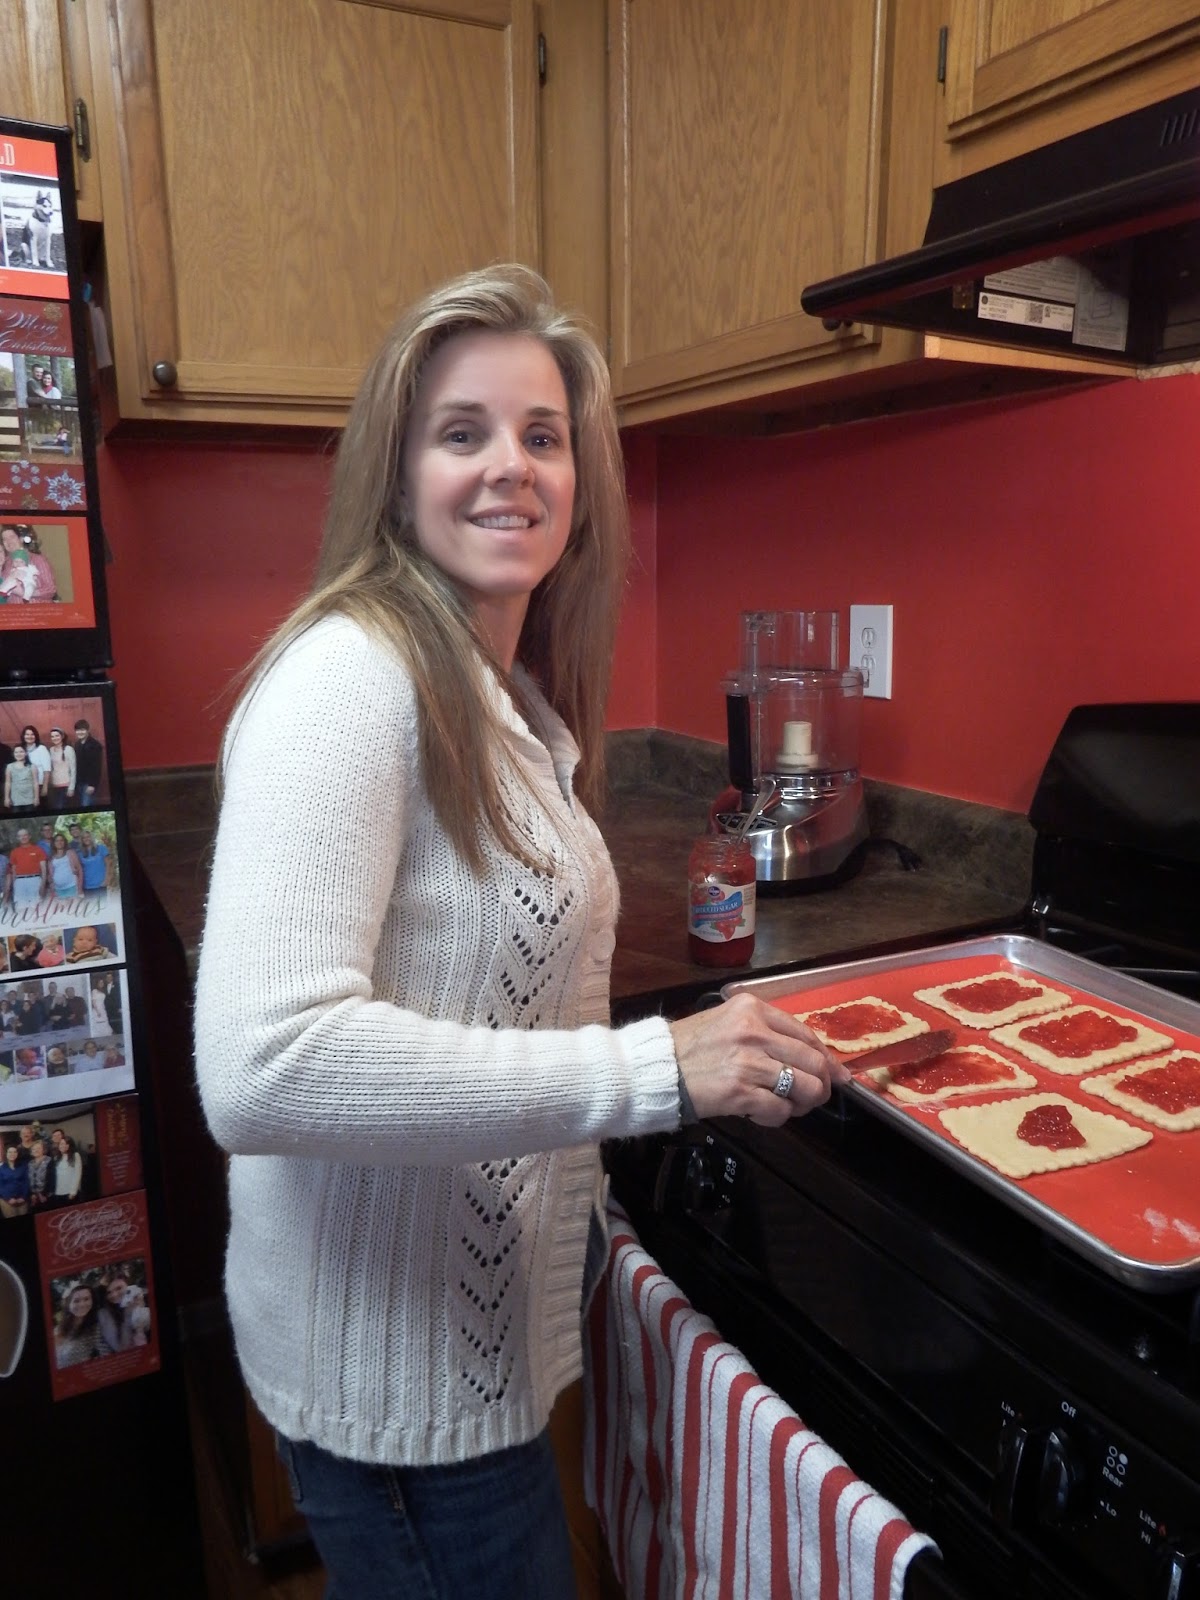
 My aunt came up from Florida for a visit and, as is our tradition, we had to bake something together. This time it was pop tarts. The recipe seemed a little daunting at first, but turned out to be very easy and lots of fun. I'll definitely be making them again and making them a little healthier and dairy free by substituting coconut oil for butter, coconut or almond milk for the milk, and wheat flour for all-purpose flour. We used reduced sugar strawberry preserves for the filling, but any filling would work and I'd love to know what you try! The taste and texture was more like a Toaster Strudel than a Pop Tart, but I'd take these and knowing every ingredient I'm eating any day! I'm getting ravenously hungry typing up this post and looking at these pictures...good thing I have a cup of tea to sip on!
 You will need:
2 1/2 cups all-purpose flour
1 teaspoon salt
2 Tablespoons granulated sugar
2 sticks cold, unsalted butter, cut into 1/2 inch dice
6 to 8 Tablespoons ice water
1/2 cup fruit preserves, jam, or other filling
1 egg, beaten with 1 teaspoon water
1 1/2 cups confectioners' sugar
2 Tablespoons milk
In a food processor, pulse together the flour, salt, and granulated sugar until combined, about 5 pulses. Add the butter and process until the mixture resembles coarse meal, about 10 pulses. Add 6 Tablespoons of the ice water and pulse 2 or 3 times. The dough should hold together when squeezed with your fingers but should not be sticky. If it is crumbly, add more water 1 teaspoon at a time, pulsing twice after each addition. Turn the dough out onto a work surface, divide in half and shape each half into a disk. Wrap the disks separately in plastic wrap and refrigerate for at least 2 hours or up to overnight.

Line two baking sheets with parchment paper. On a lightly floured work surface, roll out 1 dough disk into a rectangle 1/8 inch thick. Using the outer ring of the mold, cut shapes out of the dough. Replace the inner ring of the mold inside the outer ring. Using a small offset spatula or butter knife, spread 1 Tablespoon filling onto each of 4 pieces of dough, leaving a 1/2 inch border. Brush the edges with the egg mixture. Top each with a plain piece of dough, place the mold on top and press the inner ring down to seal the edges. Remove the mold. Transfer the pastries to a prepared baking sheet and refrigerate for 30 minutes. Repeat with the remaining dough disk and filling.

Position 1 rack in the upper third and 1 rack in the lower third of an oven. Preheat the oven to 350*F. Bake the pastries until golden, about 25 minutes, reversing the positions of the baking sheets on the racks and rotating them from front to back halfway through baking. Let the pastries cool for 10 minutes.

In a bowl, stir together the confectioners' sugar and milk until well combined. Using a small offset spatula, spread the icing evenly on top of the pastries. Makes 8 pastries.
Recipe from the Williams-Sonoma Kitchen, as appears on the box


