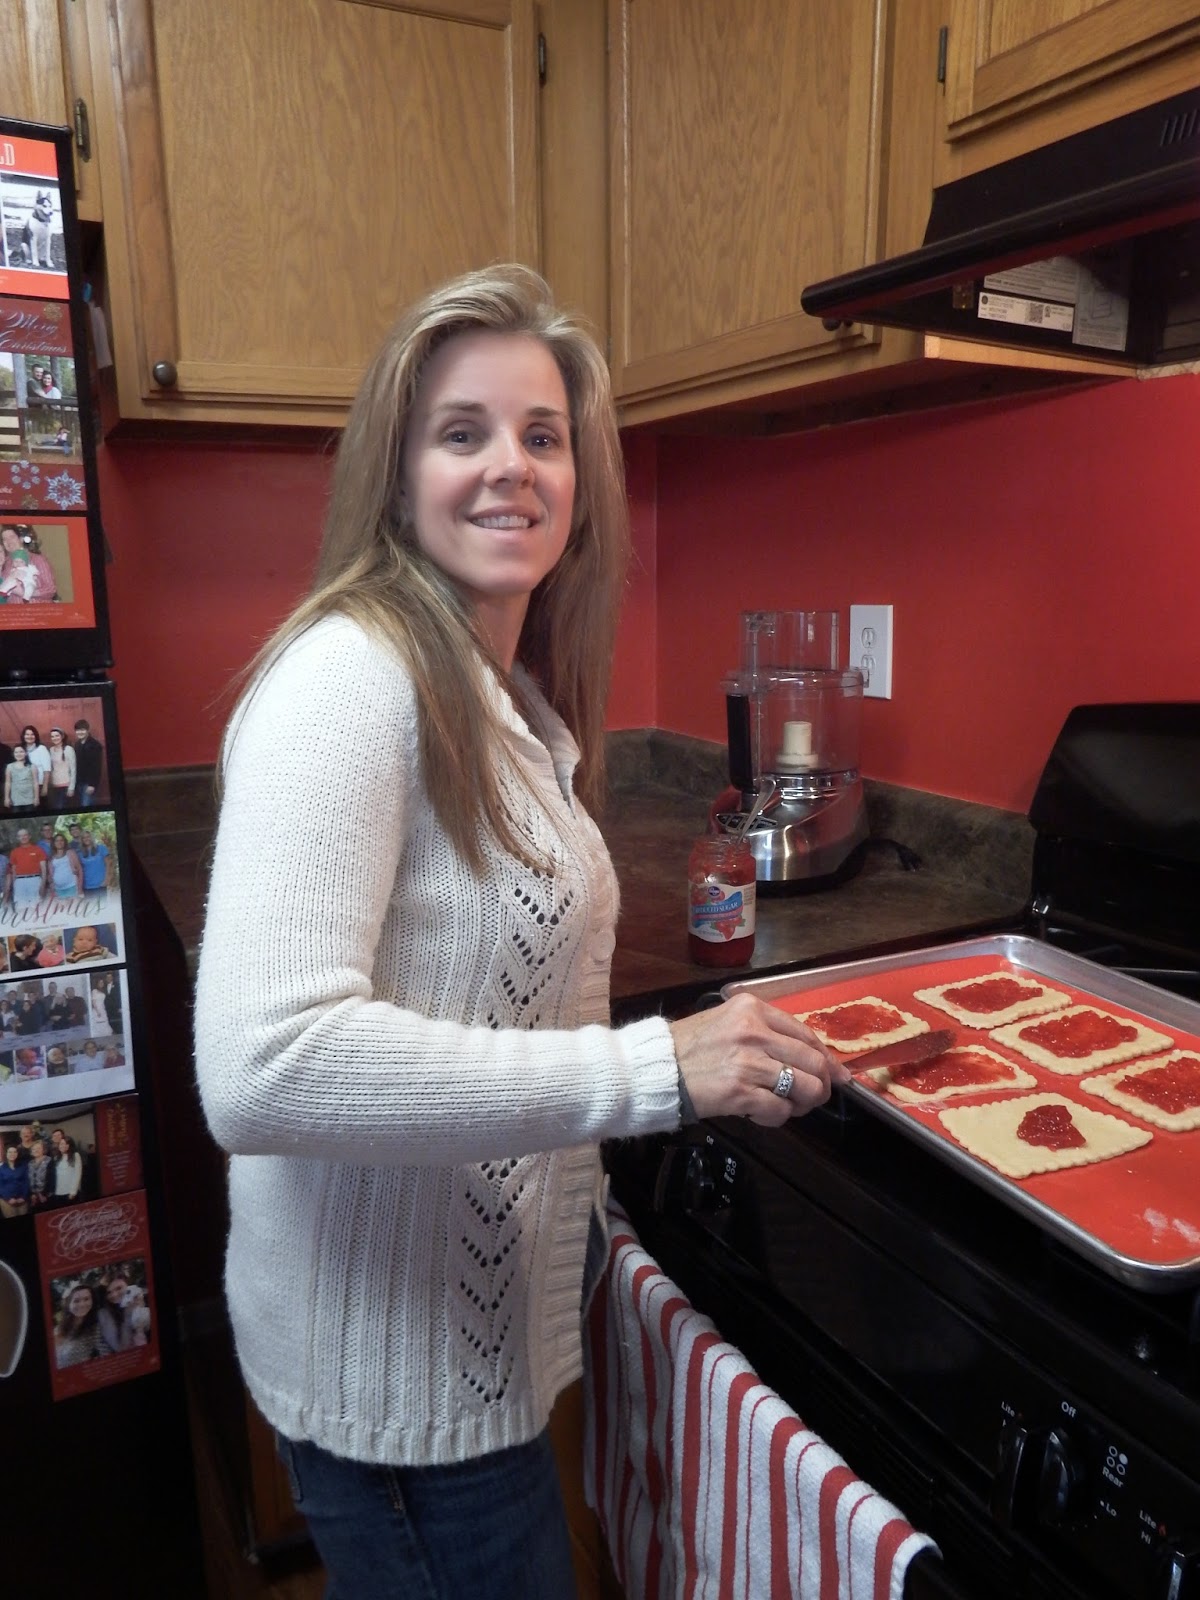
My aunt came up from Florida for a visit and, as is our tradition, we had to bake something together. This time it was pop tarts. The recipe seemed a little daunting at first, but turned out to be very easy and lots of fun. I'll definitely be making them again and making them a little healthier and dairy free by substituting coconut oil for butter, coconut or almond milk for the milk, and wheat flour for all-purpose flour. We used reduced sugar strawberry preserves for the filling, but any filling would work and I'd love to know what you try! The taste and texture was more like a Toaster Strudel than a Pop Tart, but I'd take these and knowing every ingredient I'm eating any day! I'm getting ravenously hungry typing up this post and looking at these pictures...good thing I have a cup of tea to sip on!
You will need:
2 1/2 cups all-purpose flour
1 teaspoon salt
2 Tablespoons granulated sugar
2 sticks cold, unsalted butter, cut into 1/2 inch dice
6 to 8 Tablespoons ice water
1/2 cup fruit preserves, jam, or other filling
1 egg, beaten with 1 teaspoon water
1 1/2 cups confectioners' sugar
2 Tablespoons milk
In a food processor, pulse together the flour, salt, and granulated sugar until combined, about 5 pulses. Add the butter and process until the mixture resembles coarse meal, about 10 pulses. Add 6 Tablespoons of the ice water and pulse 2 or 3 times. The dough should hold together when squeezed with your fingers but should not be sticky. If it is crumbly, add more water 1 teaspoon at a time, pulsing twice after each addition. Turn the dough out onto a work surface, divide in half and shape each half into a disk. Wrap the disks separately in plastic wrap and refrigerate for at least 2 hours or up to overnight.
Line two baking sheets with parchment paper. On a lightly floured work surface, roll out 1 dough disk into a rectangle 1/8 inch thick. Using the outer ring of the mold, cut shapes out of the dough. Replace the inner ring of the mold inside the outer ring. Using a small offset spatula or butter knife, spread 1 Tablespoon filling onto each of 4 pieces of dough, leaving a 1/2 inch border. Brush the edges with the egg mixture. Top each with a plain piece of dough, place the mold on top and press the inner ring down to seal the edges. Remove the mold. Transfer the pastries to a prepared baking sheet and refrigerate for 30 minutes. Repeat with the remaining dough disk and filling.
Position 1 rack in the upper third and 1 rack in the lower third of an oven. Preheat the oven to 350*F. Bake the pastries until golden, about 25 minutes, reversing the positions of the baking sheets on the racks and rotating them from front to back halfway through baking. Let the pastries cool for 10 minutes.
In a bowl, stir together the confectioners' sugar and milk until well combined. Using a small offset spatula, spread the icing evenly on top of the pastries. Makes 8 pastries.
Recipe from the Williams-Sonoma Kitchen, as appears on the box
delightful ho-hum
{a different perspective on everyday life}
Monday, March 17, 2014
Monday, March 10, 2014
Favorite Things Party
I saw the inspiration for this party on Pinterest a while back and have wanted to throw one myself for some time. After having to reschedule due to a snowstorm, the party finally happened and it was so much fun! I think I'm going to make it an annual tradition.
Each guest brings 5 of their favorite things (all the same or 5 different things) and they are given a stack of 5 papers with their number (first person got number 1, second person got number 2, and so on) on it to fold and put in a bowl. We then went around the room and each person drew 5 papers out of the bowl. You could not draw your number or two of the same number. In the end, everyone went home with 5 different favorite things.
I served an assortment of desserts, crackers and cheese, mixed fruit, and strawberry punch. My theme for the party was "Pink" and "Hearts" and all of the decorations are made by hand. I've found that paper decorations are the cheapest way to do a theme for a party, especially since I have lots of paper scraps.
Oreo Truffles
Combine 1 package Oreo cookies and 1 package softened cream cheese in food processor. Pulse until crushed and combined. Roll into truffles and refrigerate. These can be dipped in melted white chocolate or chocolate, but I combined pink food coloring and sugar and sprinkled it on them instead.
Sugar Cookie Bars
Recipe HERE.
White Chocolate Truffle Filled Almond Toffee Cream Cupcakes
Recipe inspiration HERE. I changed this recipe by using an almond toffee flavored creamer instead of macadamia. And right after the cupcakes came out of the oven I cut a slit in each one and pushed in a white chocolate Lindt truffle. I garnished each cupcake with white chocolate pieces that I had colored pink.
Wednesday, February 5, 2014
Our Cozy New Home
Last year was a big year for us. First, we started our family. Then we moved our family into our little one bedroom apartment. It was small and sweet and perfect for us. Later on in the year our little boy joined us and that led to our latest expansion - moving into a bigger two bedroom apartment! We are loving the extra space and I know when our little one starts crawling around, he's going to love it too. Several have asked for pictures of our new place, so I am posting them! We decided to put paint on the walls this time and we have several pictures hung, but there is still a lot I am hoping to do before I say it's finished! But that's the great part of decorating your home - there can be projects on the to-do list, but it can still feel like home. So I am sharing the pictures of our home now, instead of waiting until it's completely finished. May it encourage you to work with what you've got and make your house a home in the midst of the everyday.
I love candles! They are one of the greatest ways to make a place feel homey and welcoming. This one is from my dear mother-in-law and smells like mint chocolate...yummmm.
A word to the wise - red paint take numerous coats to make it red instead of pink. This may be my only red kitchen...
Sorry for the dark picture. This wall in our office space off the kitchen is brown.
Details make a house a home! This wicker trash basket is perfect for our beach themed main bathroom.
The wording on the wall is a DIY applique that my sweet sister gave me for Christmas.
Haven't figured out a great way to hide wires from the nightstands, but this pictures shows the gold detail on the lamp next to the grey wall.
Baby's little cradle...but he has almost grown too big for it!
You will notice I don't have any pictures up of the nursery. There are several projects I am wanting to do for that room and I am in the middle of a couple right now. As soon as those are done, then the nursery will be its own post.
I will also be posting as I get to do the projects around the apartment that I'm wanting to, so keep checking back for great DIY ideas!
Wednesday, December 18, 2013
Inspiration: Holiday Gift Wrapping
So sorry to not have posted very often. Not only have we had the holidays, but our little family is currently in the midst of moving. We'll be hosting Christmas at our house just 4 days after moving in! Hopefully a post about that will be up by the end of the year. Until then, here are some pictures of the presents I've wrapped so far; hopefully they inspire you as you are doing your Christmas wrapping!
Monday, November 11, 2013
2013 Fall Decorations
As much as I dislike being cold, fall is here and I am quite in love. Holidays, for me, have always been somewhat magical. Thanksgiving being in just a couple weeks has me on cloud nine. But the moments, the minutes (yes, even those spent awake with our little boy in the middle of the night), the days until then are not being taken for granted either. I'm so enjoying life; I have been richly blessed and I'm eternally grateful. In true fashion of embracing this season, my home is filled with fall decorations and smells. Heavenly, I'm tellin' ya.
I didn't want to use real pumpkins this year because I didn't want to have to deal with them rotting and having to take care of that when I'd rather be taking care of my wee one. But I wanted pumpkins. So I wondered if I could make them myself and, after a search on Pinterest, I discovered I could. THESE are the directions I roughly followed.
Friday, November 8, 2013
DIY: Card Crafting
How quickly a month goes by. Definitely faster after the baby is born, than when you're waiting for the baby to come... Making sure I don't take any of it for granted.
Below are a few birthday cards I made and am posting for inspiration. New idea: use an old unwanted book to cut a shape out of, color and add to your card. It's a different twist and gives the card more detail without a lot of time or effort.
Sunday, October 13, 2013
Maternity Leave
Just to let y'all know: I'll be taking a temporary break from blogging as my husband and I get to know our new little man better. He arrived this past week, safe and sound, and we're all doing well - very happy and quite in love.
(Picture credit goes to Aunt Stephanie.)
Subscribe to:
Posts (Atom)