Wednesday, December 18, 2013

Inspiration: Holiday Gift Wrapping

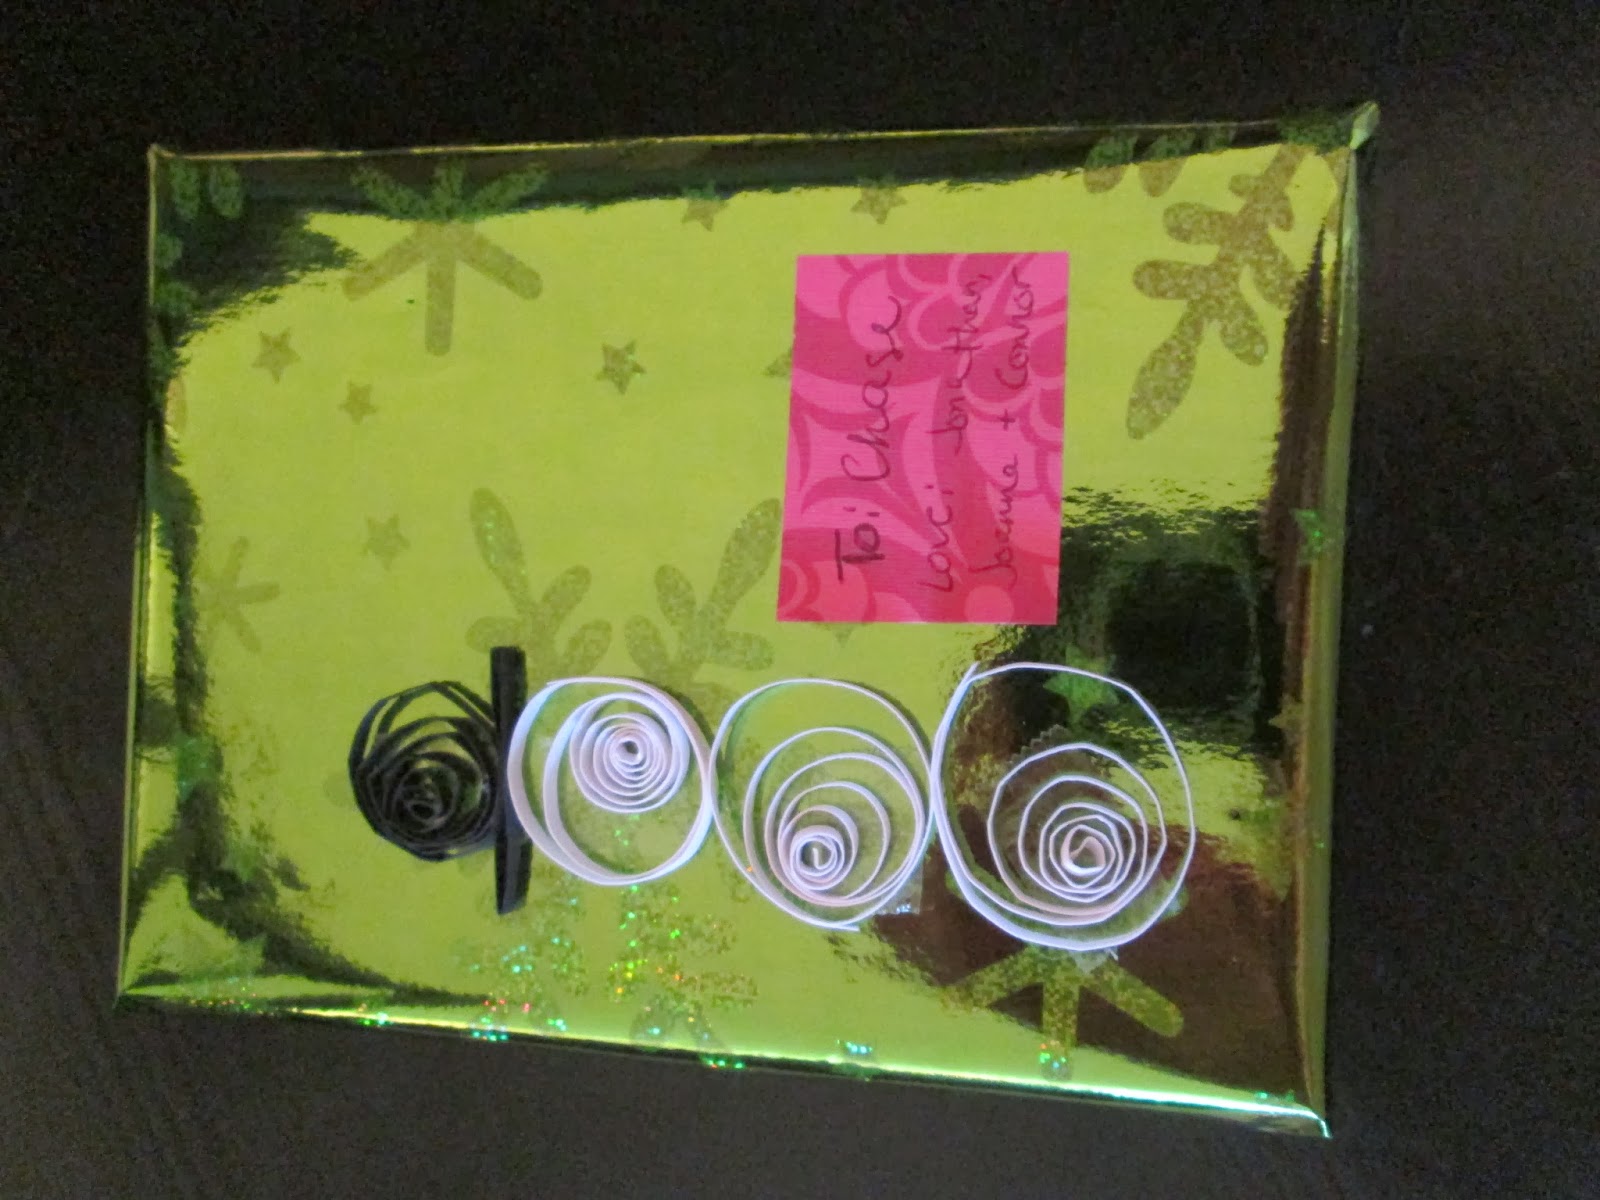
So sorry to not have posted very often.  Not only have we had the holidays, but our little family is currently in the midst of moving.  We'll be hosting Christmas at our house just 4 days after moving in!  Hopefully a post about that will be up by the end of the year.  Until then, here are some pictures of the presents I've wrapped so far; hopefully they inspire you as you are doing your Christmas wrapping!


Monday, November 11, 2013

2013 Fall Decorations

As much as I dislike being cold, fall is here and I am quite in love.  Holidays, for me, have always been somewhat magical.  Thanksgiving being in just a couple weeks has me on cloud nine.  But the moments, the minutes (yes, even those spent awake with our little boy in the middle of the night), the days until then are not being taken for granted either.  I'm so enjoying life; I have been richly blessed and I'm eternally grateful.  In true fashion of embracing this season, my home is filled with fall decorations and smells.  Heavenly, I'm tellin' ya.

I didn't want to use real pumpkins this year because I didn't want to have to deal with them rotting and having to take care of that when I'd rather be taking care of my wee one.  But I wanted pumpkins.  So I wondered if I could make them myself and, after a search on Pinterest, I discovered I could.  THESE are the directions I roughly followed.


Friday, November 8, 2013

DIY: Card Crafting

How quickly a month goes by.  Definitely faster after the baby is born, than when you're waiting for the baby to come...  Making sure I don't take any of it for granted. 

Below are a few birthday cards I made and am posting for inspiration.  New idea: use an old unwanted book to cut a shape out of, color and add to your card.  It's a different twist and gives the card more detail without a lot of time or effort.


Sunday, October 13, 2013

Maternity Leave

Just to let y'all know: I'll be taking a temporary break from blogging as my husband and I get to know our new little man better.  He arrived this past week, safe and sound, and we're all doing well - very happy and quite in love.


(Picture credit goes to Aunt Stephanie.)

Thursday, September 26, 2013

DIY: Nurse Thank-You Packets

I've never been through the process of having a baby before, so the thought of putting together little "thank-you's" for the labor and delivery nurses didn't even occur to me until I saw the idea on Pinterest.  For anyone who has nesting syndrome every day and lives in a sweet little one bedroom apartment, projects that require getting done ahead of time are greatly appreciated.

I gathered the supplies from a couple of different stores; Walmart had the little notebooks on sale since it's been back-to-school season, Bath & Body Works has had their travel size lotions on sale for a while, and any grocery store will do for picking up little sweets (I figured chocolate and mints were pretty basic).


I have some clear bags that are for wrapping up candy and they suited my purpose well.  I stapled them shut and then taped a little thank you tag, made with plain ol' cardstock, onto the bag.  Ta-da!  These little packets are now sitting with our pile of stuff that will need to be packed last minute on our way out the door to the hospital.  Any day now we'll be holding our sweet little Bug in our arms!

Monday, September 16, 2013

Items for Sale

This summer I ventured into the world of trying to sell projects in a little shop in a cute little town.  Unfortunately, the cute little town wasn't getting much traffic and so I had to take my things out of the little shop.  Right now I am storing it all in my sweet little home and, with little Baby Bug due to arrive in the next few weeks, we're needing more space.  That being said, all of the pictures posted HERE and HERE are items for sale at a discounted price so that we can make room for our sweet little one.  If you are interested in buying any of the items, shoot me an email at joannasinscriptions@yahoo.com.

Wednesday, September 11, 2013

DIY: Iron-On Transfer Onesies


A little while back I made a onesie using an iron-on transfer for my nephew.  I had seen the inspiration on Pinterest, but the original cost more than I wanted to spend.  For most everything, you'll find it's much cheaper to make your own than it is to buy it.  So that's what I did.

On second thought, it might be more expensive to make your own.  Reason being that once you've gotten started making it, you're going to want to make more.  And more.  And more.  After I had finished the nephew's onesie, I wanted to make some for Bug.  Thankfully, the only cost I incurred for this whim was the cost of ink to print the images; I had been given several white onesies at baby showers and my brother had given me his whole leftover stash of iron-on transfer sheets.

I had an idea for an image I wanted for Bug's onesie.  So I searched Google images high and low.  But it was to no avail.  So what do you do when you can't find the image you want?  You draw it, of course.  I usually always start my drawings by sketching it out in pencil.


To fill in these images I used permanent markers.  The vibrant colors showed up really well. 


Then I scanned the images to the computer and inserted them into a Word document.  For iron-on transfers you need to flip the image so that it will turn out facing the same way on the garment as the original image.


Iron-on transfer sheets can be bought at almost any local craft store, even some general stores, and will come with their instructions.  They're very simple.  After printing the images onto a sheet, I had to cut them out and iron them (surprised??) onto the onesies.


I am so happy with the way the onesies turned out!  I cannot wait for little Bug to wear them!


And since I was at it...might as well make them in "bulk".